
Split screen in Windows helps you work more as a team, and the term used in Windows is called Snap layouts. There are a few predefined layouts that you can use, or drag app windows to a particular part of your computer screen to enter editing mode and have multiple windows side by side. There are several ways to use split screens in Windows 11, and we’ll go over them all in this article.
Method 1: Use Snap Layouts to Split Screen in Windows 11
The easiest way to get started with split screen on Windows is to use the Snap Layout feature introduced in Windows 11. This feature provides a few predefined layouts in which you want to arrange one or more app windows. Here’s how to use it.
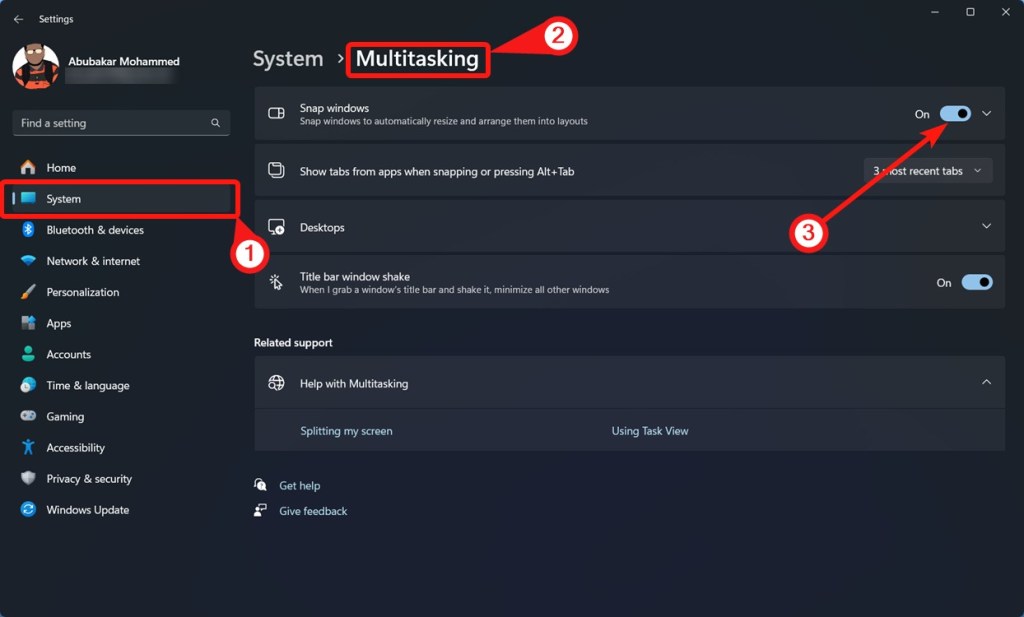
- Go to Settings > System > Multitasking.
- Turn on the Instant Windows toggle to enable this feature.
- Now hover over the maximize button on a window. You should see many hanging arrangements or arrangement options.
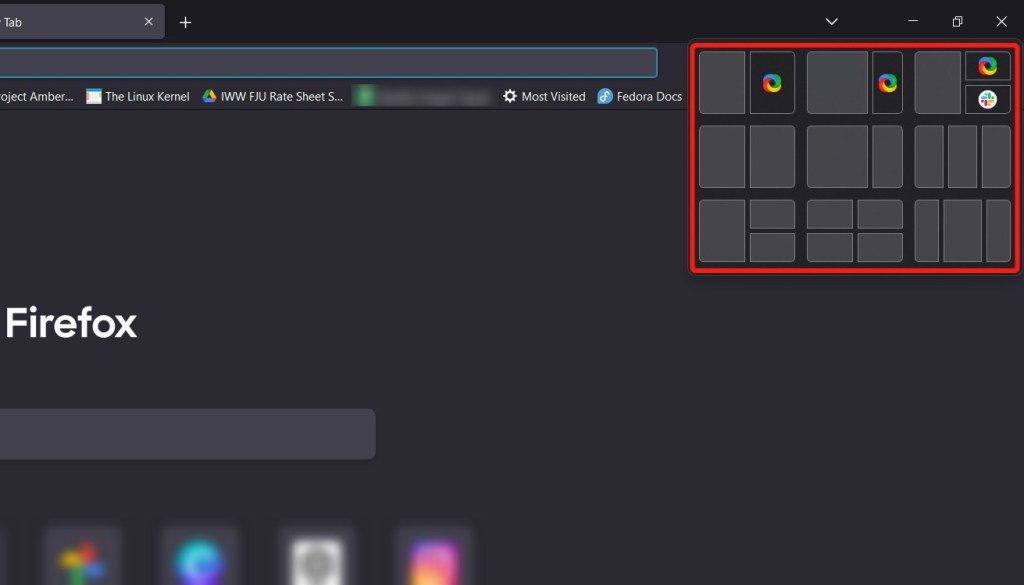
- Click on one of the previewed layouts and your current window should snap to the desired area.
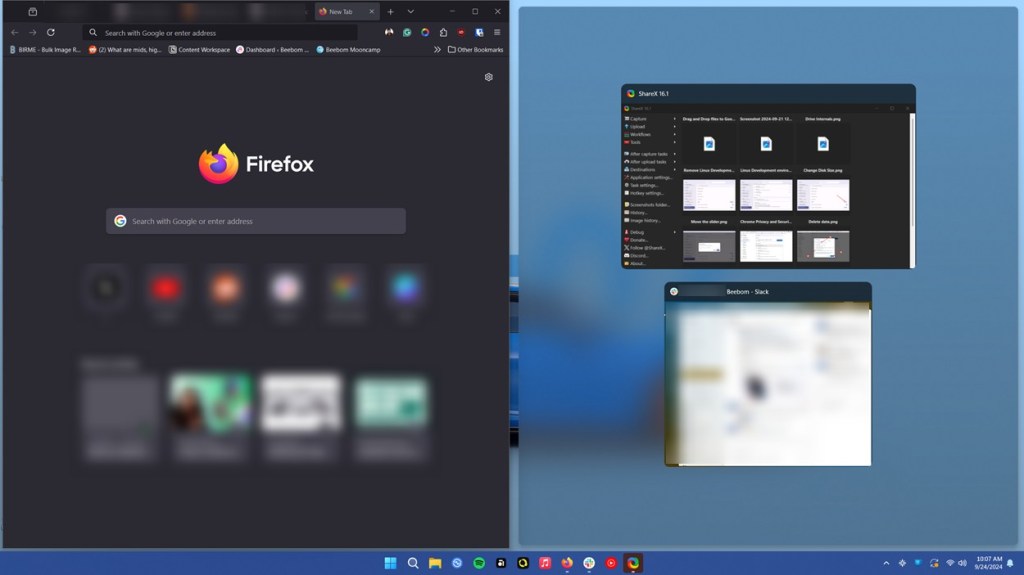
- You will also see active applications with which you can capture the current window to quickly start multitasking.
- Once done, you can hover over the window borders to resize the windows.
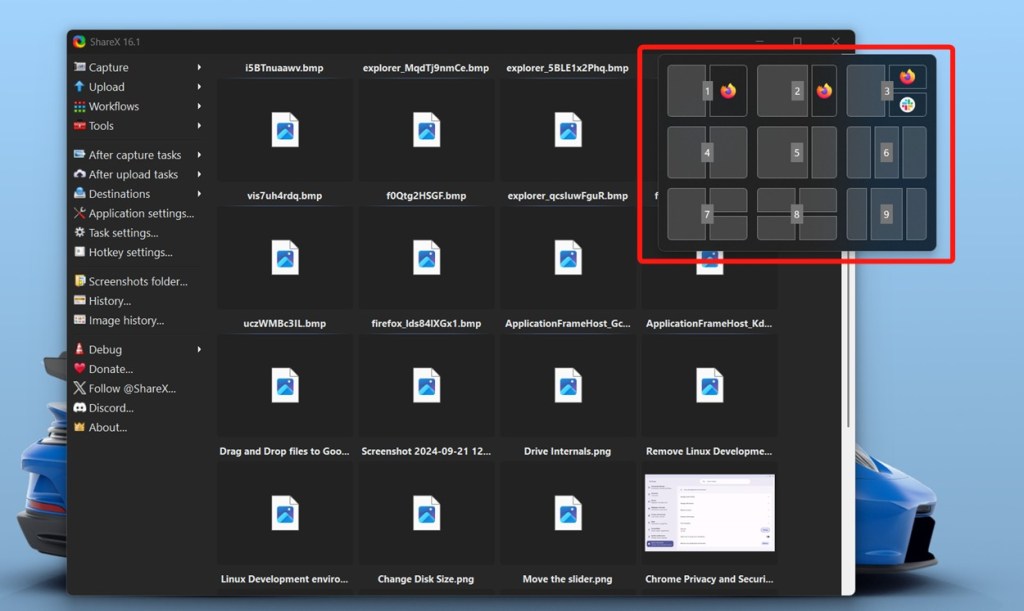
The list of all snapping arrangements in terms of screen space is as follows:
- 50-50
- 75-25
- 50-25-25
- 25-50-25
- 33-33-33
- 25-25-25-25
Method 2: Drag and drop application windows
Dragging a window to the ends of your screen will automatically start window alignment. Here’s how to do it if you want, for example, a 50-25-25 split.
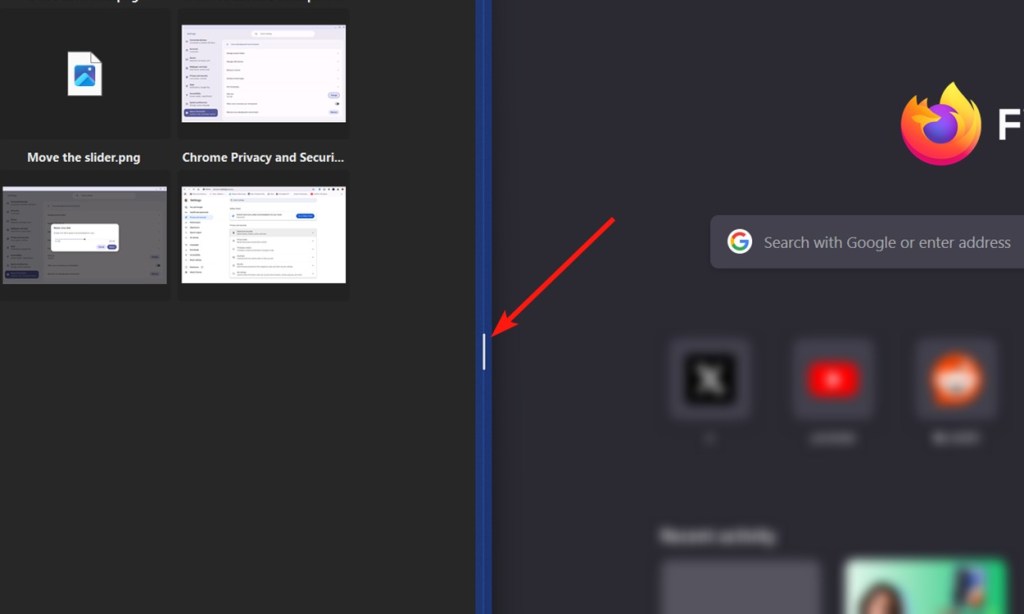
- Click and drag the window to one side of the screen to enter snapshot mode.
- Once you’ve dragged and dropped one window to take up 50% of the screen space, select the other window for a 50-50 split.
- Then drag the other window up to create a 25% split and select another window to occupy the remaining 25%.
- Now you have a 50-25-25 distribution. This is how you can align the windows by manual drag and drop.
Method 3: Drop windows onto the docking bar
You may have noticed that it is not possible to get a 25-50-25 and 33-33-33 snap via the above method. And for this and the rest of the snap arrangements:
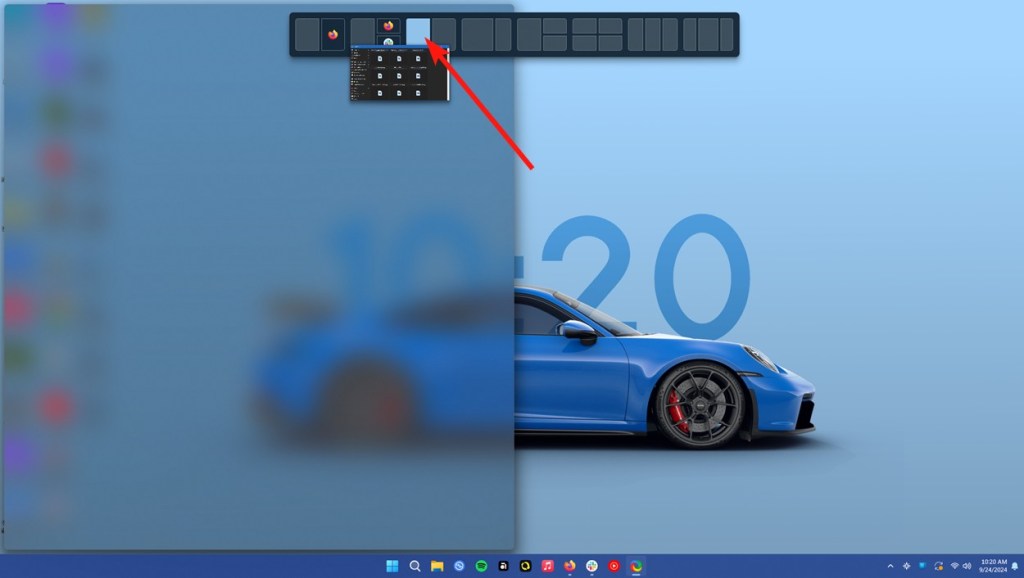
- Click and drag a window until a shadow appears at the top of your screen.
- Drag the window over the shadow to reveal all snap arrangements.
- Now drop the window onto one of the snap layouts and highlight its parts.
- Select the other windows and you will have another way to use all the snapping arrangements.
Method 4: Access Split Screen Using Keyboard Shortcuts
Windows keyboard shortcuts make it easy to activate features, like the window snap tool. Here’s how.
- Press the Windows + Z keyboard shortcut to show instant layouts.
- Each snapshot layout will have a number assigned; tapping this number will automatically enter a split screen.
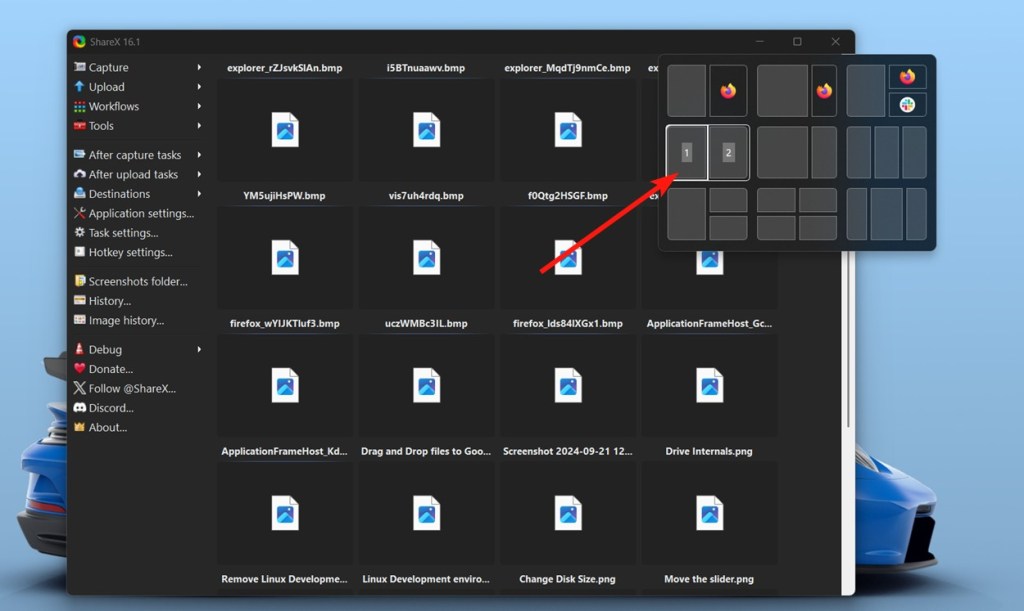
- You then need to press a number again to determine the position of the window you are capturing.
And that’s how you can split screen on Windows 11. Split screen is incredibly useful, especially on Windows 11 thanks to the Snap window. It makes multitasking effortless, clean, and less tedious.
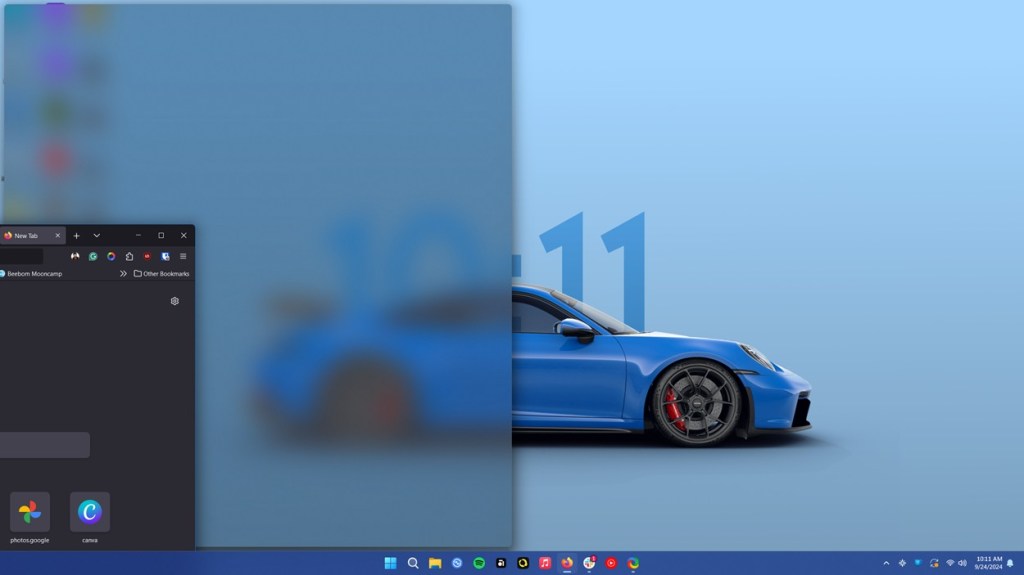
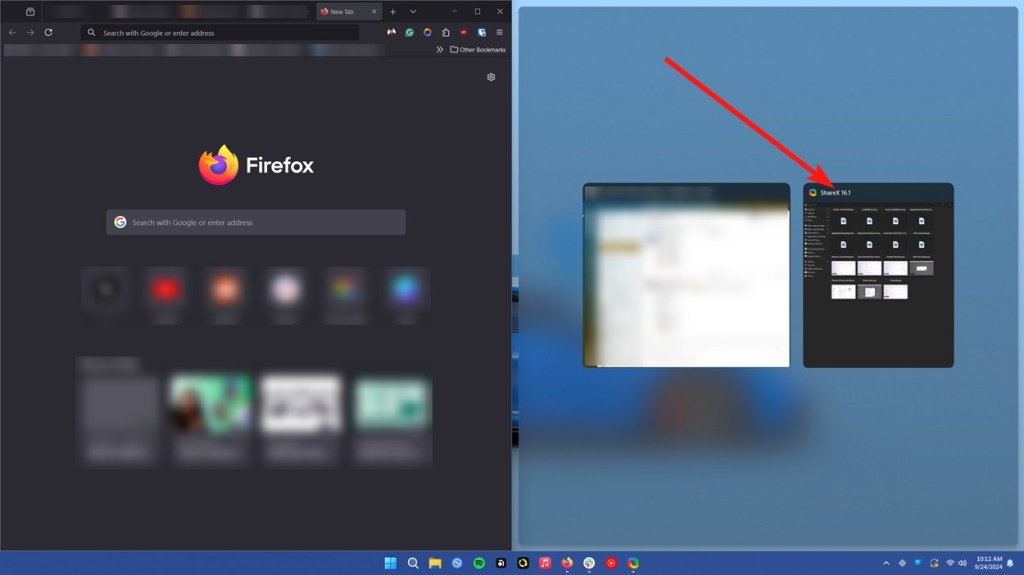
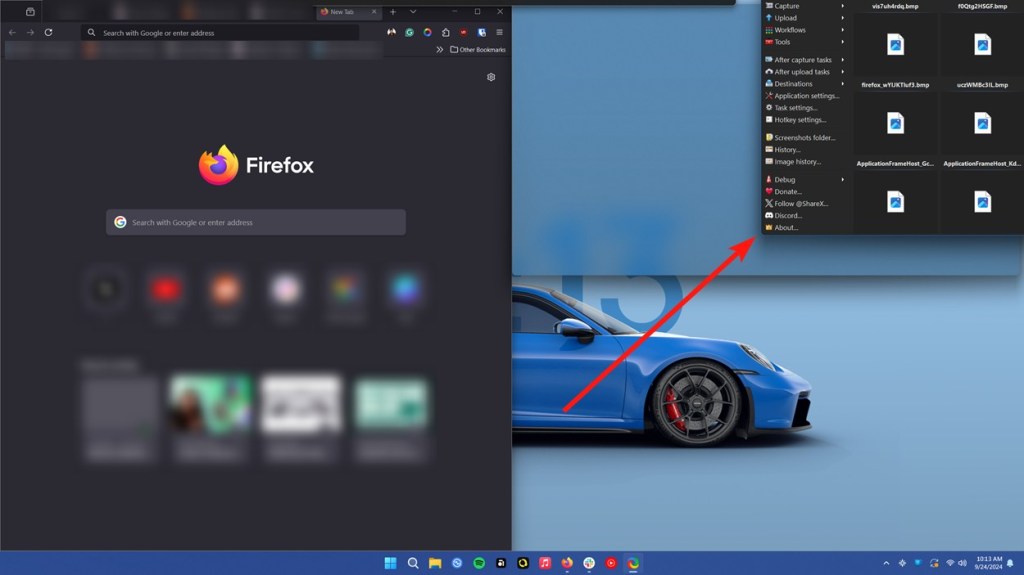
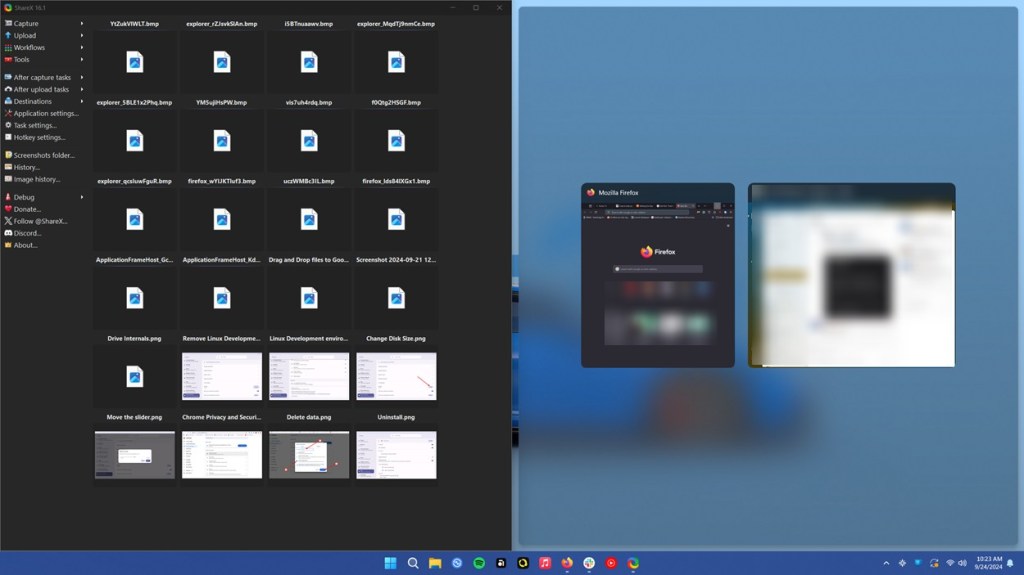
In case you are wondering, the live wallpaper we have set here in the screenshots is from Wallpaper Engine and the screenshot app is called ShareX, which we have discussed in detail in our How to Record Screen on Windows 11 guide. Do you know of any other ways to capture Windows on Windows? Let us know in the comments.
Related Articles:


